Home > Manuals > Legacy Products > Touch Screens and Control > iQ TS.35 > Install and Setup for TS.35
Install and Setup for TS.35
| Installation Instructions | ||
| The TS.35 includes the following items for installation: 1 - TS.35 Touch Screen 1 - Plastic Wall Cover w/ Magnetic Mounts 6 - Mountable Plastic Buttons 2 - Flip Tabs 2 - Phillips Head Sheet Metal Screw (#6, 1-1/2" long, for use with flip tabs). | ||
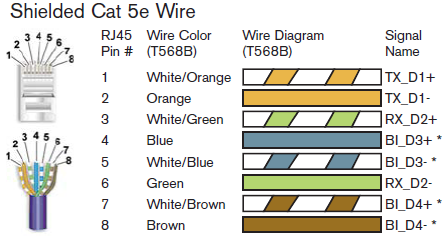 | Prepare one to eight runs of CAT 5e cable in the approriate length. There is a maximum length per panel run of 200ft and total cable length of 1000ft for all panels. The iQ.TS35 uses a single Shielded Cat 5e cable from the iQ.IMS to supply power, video, and control. Please use industry standard Shielded Cat 5e cable. If it is necessary to make your own cables, follow the TIA/EIA-568-B standards. NOTE: The wires marked with a * are very important for the panel to receive power. A cabled wired using the10Base-T standard (only 4 pins used) will NOT work. | |
 | Cut out rectangular holes in the wall in preparation for the panels. The size of the holes must be 5" wide by 2 13/16" tall. You can use a 3"x5" index card as a guide. | |
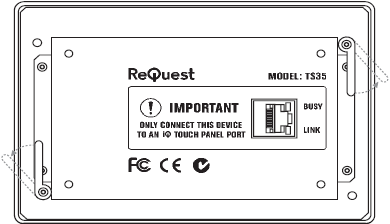
 | Run CAT 5e cables from the back of the IMS to where each TS.35 will be installed. This is not an Ethernet network. Do not plug the iQ.TS35 or any of the 8 RJ45 jacks labeled iQ Touch Panels to an Ethernet network or any other Cat 5 device. Do not use a cross-over cable, as this can cause serious damage to the iQ.TS35 and/or iQ.IMS. | |
 | Install each TS.35 by first plugging in the CAT 5e cable to the back of the TS.35 and the IMS. Once you have confirmed the TS.35 powers up and the GUI displays, align the panel in the wall and tighten 1-1/2" metal screws screws in the front to engage the flip tabs and anchor the panel to the wall. When the iQ.TS35 is properly connected to the iQ.IMS a green link LED will be lit on both the iQ.TS35 and iQ.IMS. | |
| Calibrating the TS.35 |
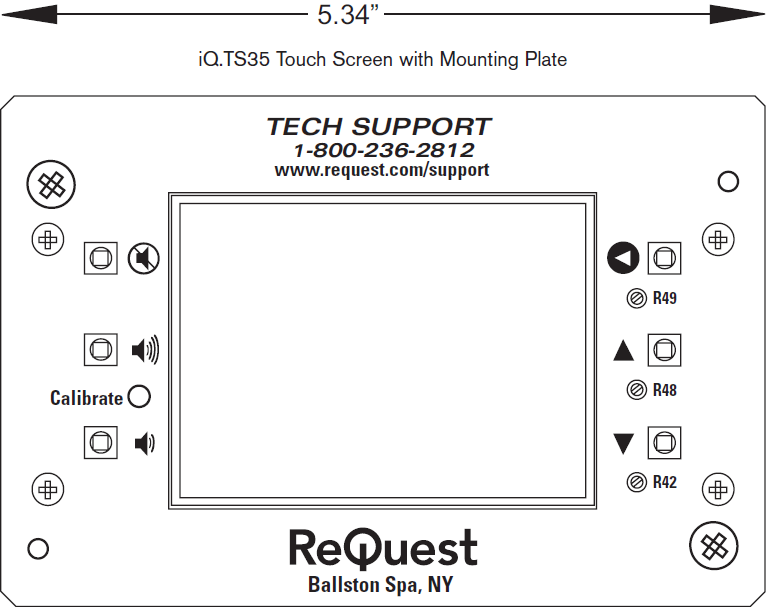
| To calibrate the TS.35, remove the front plastic face plate held by
magnets. Press the Calibrate button on the left side. Press white
squares in sequence. Do not change R49, R48, or R42 from factory
settings. |
 |
| Touch Screen Buttons | ||
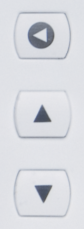
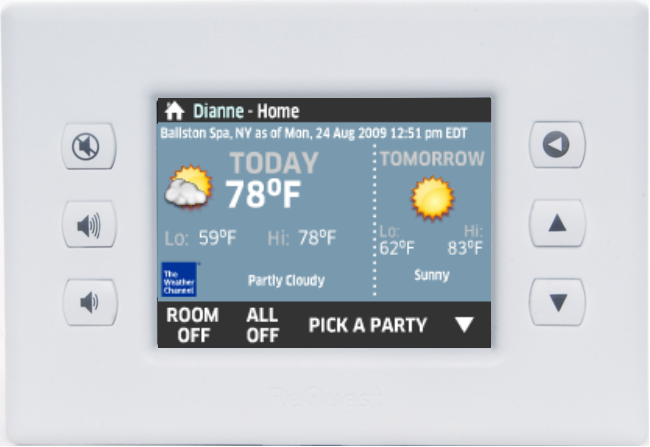 | The TS.35 has 6 hard buttons on the left and right of the screen which gives you additional control of the server through the panel. | |
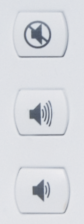 | The left buttons include the following:
| |
 | The left buttons include the following:
| |
See also