Home > Manuals > iQ Whole House Entertainment > IMA6 Amplifier > Configuring the IMA6
Configuring the IMA6
To configure the IMA6 so that the IMA can control it, the device must be added to the iQ configuration on the web server. From there, volume levels can be adjusted for fine tuned performance.
Accessing the Web Server to Configure the IMA6

To
connect to the web server open your internet browser and in the address
bar type in the IP address of the unit. In our example, type in
192.168.1.50. 
Once the page loads, navigate to the bottom and press iQ Settings.
The system will ask for a user name and password: Username:admin Password:admin
| Adding the IMA6 to the system | ||
 | To add an IMA6, select Devices from the drop down and then click on Add Device. | |
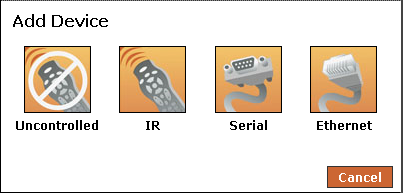 | Select Serial for serial controlled devices. | |
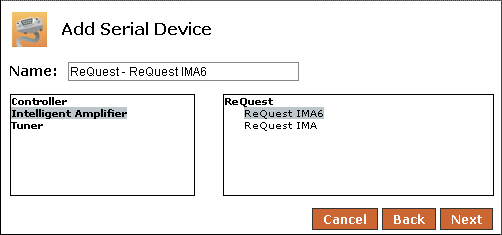 | From the menu, choose Intelligent Amplifier and then ReQuest IMA6. | |
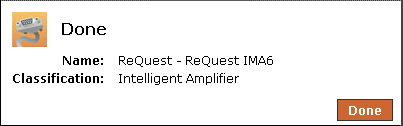 | Choose Next when you are done. A final box will appear confirming the device has been added successfully, click on Done. Repeat these steps for all necessary devices. | |
| Associate the IMA6 to the Serial Port | ||
 | To setup your IMA6 for control, select Device Control from the drop down. Then select Serial (selected by default). | |
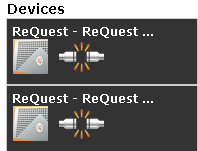 | The available devices associated with the selected control type will be listed. | |
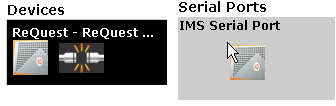 | Drag and drop the IMA6 into the proper port based on whether the IMA6 is plugged in to the IMS directly or to an SCK (USB to serial connection) | |
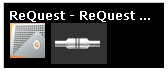 | Once
the IMA6 has been dragged into the proper port and the system
physically detects the connection, the Plug icon will now show
connected. | |
| Configure the IMA6 Volume Levels | ||
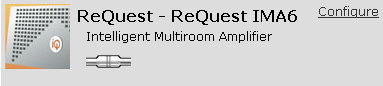 | To adjust the default output levels for the IMA6, select Devices from the drop down and then select Configure for previously added IMA6 device. | |
 | ||
| To adjust the Max Volume or Start Up Volume, click on the + or - below the volume level you want to adjust. | ||
 | To lock the volume level for an output*, click on the Lock icon. *By locking the volume level you will not be able to adjust the volume for that output from any keypad or room control. Locking the output is usually done when the output is going to a third party amp or Surround Sound system. | |
 | ||
| To adjust the Treble and Bass levels click on the + or – beneath the Treble and Bass levels. | ||
 | Once the volume levels have been adjusted, press Save to save the settings. | |
See also